The Brown County Beekeepers Association meets monthly on the third Wednesday at 6:30pm at the Green Bay Botanical Garden 2600 Larsen Rd, Green Bay, WI 54303. There are no meetings in July or December. In July the club generally has a picnic.
The basic wooden pieces that comprise a honey bee hive. Typically called “wooden ware” we’ll discuss each piece with a goal of helping you to be a successful beekeeper.
Swarms are the normal, natural and healthy reproduction of a honey bee colony. They are colony-level reproduction vs individual honey bee. It’s an important part of the colony life cycle and it’s how honey bees procreate.
It’s time to harvest and extract your honey. If you are a BCBA member you have the advantage of renting the club honey extraction equipment. The club has everything you need to get the job done: an extractor, a planer to uncap the honey, an uncapping tub, a straining set up, and 5-gallon food grade buckets. First things first, you will need to pull the honey which means getting the supers off the hives and the bees out of the supers = honey harvest. There are several ways to do this.
Honey Harvest Tools
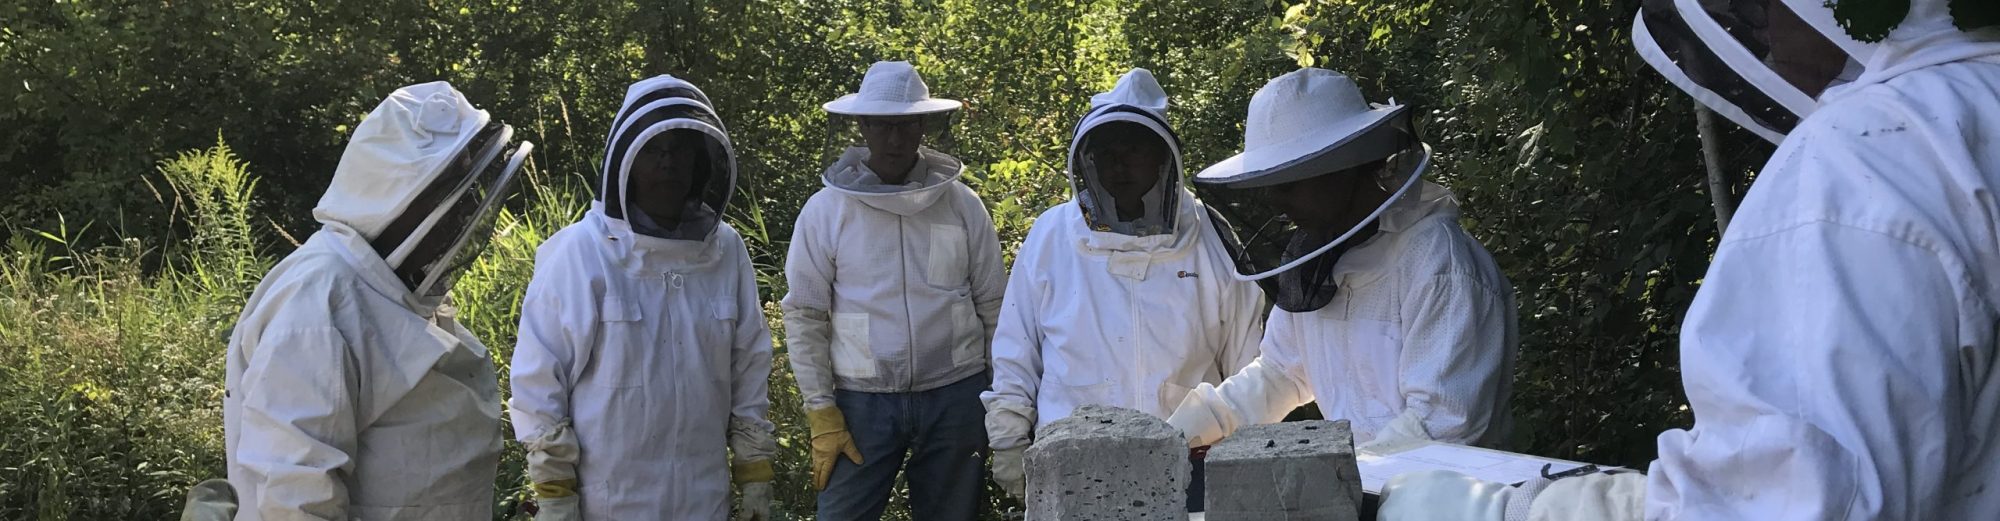
Beekeepers Personal Protection Equipment (PPE) – suit/ jacket/veil/ gloves
Smoker/ Fuel/ Lighter
Supers for transportation
Hive tool
Old Towel
Harvest
Light the smoker. Use the hive tool, open lid slowly and blow some smoke in the hive.
Have empty supers ready to place capped honey frames in. A cloth cover is recommended to prevent robbing and to keep the frames bee free.
Remove frames with capped honey from the hive and inspect the comb. Uncapped cells with some nectar in it should not be harvested – only capped honey.
Remove bees from the frames by doing a quick snap of the frame similar to getting the bees off the frame when you do a mite check and then use a bee brush to gently remove any bees lingering on the
Place the capped honey frames into the empty super and cover with cloth (old towel works great) and prepare to to transport to your honey extraction location.
Once you have pulled all of your supers you are ready to set up for honey extraction. You will want to select a place that you are able to keep the bees out of. If you decide to extract outside in the open, you will have unwanted visitor bees, and lots of them.
Mount the frame above the tub being used to collect wax cappings and honey.
Use the heated knife or tool of choice to unseal the capped honey cells.
Lean the heated knife on the edges of the frame and move “fast” – don’t linger too long or the honey may burn.
Repeat for both sides of the frame. The heated knife takes off most of the caps. For the honey cells that did not get upcapped, use an uncapping fork and gently shave off the caps.
Using an uncapping plane to extract honey
Place the frames with both sides uncapped into the extractor as you uncap them.
Once the extractor is full of frames, close the lid and start spinning slowly increasing speed until the honey is spun out of the comb and is stuck to the bottom and sides of the extractor.
If using the club extractor you will need to flip the frames and repeat the spinning.
Remove the spun frames and return them to the super and spin the remainder of your frames.
Place your food grade bucket under the spigot of the extractor.
Use a double screened strainer to catch the wax and impurities as the honey pours out of the extractor.
Before bottling, letting the extracted honey sit for 48 hours allows air bubbles and sediment to settle out.
Using an extractor similar to the one the club owns and rents out to members
Clean Extractor and Tools
Bees love to help clean up the honey covered frames with the majority of the honey extracted. Take your extracted supers back to the hive, set an empty super on top of the inner cover and place the extracted supers on top of the empty box (thus leaving a space between the inner cover and the extracted frames). This extra space “fools” the bees into thinking they are leaving the hive, finding honey, and they will bring is down into to hive proper. Remove the cleaned up frames after a couple of days. If you leave them on the hive too long, the bees will sometimes start back filling them again.
Leaving the boxes with extracted frames randomly outside the hive can instigate robbing behaviors which should be avoided. Placing them on the hives ensures your bees have “first dibs” of the leftovers and minimizes robbing behaviors.
You will end up with a mix of wax cappings and honey in the uncapping tub when the extracting is completed. You can leave them in the tub for the honey to drain overnight then open the gate on the tub the following day and strain the honey. You’ll be pleasantly surprised at the amount of additional honey you will be able to harvest.
Once you have strained the honey from the uncapping tub and removed your left over cappings (save them to use later or give to your favorite beekeeper) you can place the tubs and strainers outside FAR from your hives to let the bees clean up. If you decide to try your hand at cleaning the strainer be sure to use COLD water.
Bottling
Extracted honey should have a moisture content at or below 18%. The club has a refractometer which is used to test moisture content. If the honey has too much moisture – 19% or greater, it may ferment. Often times when there is a high moisture content it comes from extracting frames containing uncapped honey. Some people have success reducing the moisture from the honey using a dehumidifier.
Wash containers the honey will go into and let air dry. Fill containers with honey, label and share with friends.
Tracheal Mites live in the bee’s respiratory system and have become less of a problem with the use formic acid and thymol based treatments for control of Varroa Destructor Mite. These treatments are also effective in treating the tracheal mite, mostly eliminating them. Symptoms include: bees appearing to be disoriented, unable to fly and disjointed wings. Bees are unable to get out to forage, leading to a large number of bees found throughout the day at the hive.
Nosema weakens the immune system of the honeybee leading to increased colony death. It is a problem in winter because bees are not getting out of the hive often to defecate, increasing the risk of spread within the colony. You may see LOTS of bee poop all over your boxes. Don’t confuse normal cleaning flights with Nosema. To prevent Nosema keep your colony strong and healthy, replace old comb and make sure there is good drainage and ventilation in your bee yard. Find more information here.
Diseases
American Foul Brood (AFB): AFB is extremely contagious. Spores contaminate a hives by drift, robbing, tainted equipment/ tools. They infect and destroy larvae and once the cells are capped larvae turn brown. You will note a rancid smell, spotty brood pattern and sunken perforated cappings; inside the cell you would find melted looking brown remains of the larvae. You can check for suspected AFB by sticking a toothpick into a cell and stir the larva and pull the toothpick out. If it has a ropey appearance, more than 2 cm there is a good chance it is AFB. Because of the infectious nature it is recommended that all equipment be burned or wooden ware be scorched to disinfect before using again. AFB must be reported to the state inspector. More in depth information can be found here.
Viruses
Sacbrood Virus (SBV) can be seen and easier to identify. Capped brood will have pin sized holes in it. Pupae have underdeveloped heads. The infected larvae will die and become dark and brittle. It will be easy to remove from the cells. SBV is transmitted via contaminated food, feces or during mating. You can try removing infected larvae and re-queening but as of today there are no known treatments to get rid of SBV directly.
Deformed Wing Virus (DWV) can be seen as well and looks as the name describes. Adult bees infected with the virus show no visual signs. It is the most common virus found in a colony and is transmitted by the varroa mite. The bees are unable to perform hive duties or forage and the bees do not survive long. It is transmitted by contaminated food, feces or during mating. The queen can pass the virus to her offspring. Prevention and treatment is mite management.
Insect pests range from spiders, earwigs, cockroaches to ants. None of these do any serious damage to your hive and don’t seem to bother the bees.
Mice, however, are a different story. Mice tend to invade hives as the weather cools down, they look for a warm place for the winter and hives are air tight and the bees help a bit with heating. Mice will damage comb and frames to accommodate their nest. They urinate in the hive causing irreversible damage to the drawn comb as the bees will no longer use it once contaminated by the mice.
Mouse nest in bee hive.
Wildlife
Wildlife can cause serious damage. Skunks come around at night, scratch on the hive entrance and then eat the guard bees to come to entrance to see what is going on. The nighttime attacks on the hive will also tend to make the bees more defensive and aggressive when you open the hive during the day. The best way to prevent skunks is to put your hives and a stand 18 inches off the ground. Bears like to break into bee yards at night too, going after the brood and honey. They are known to cause destruction to equipment and drag away boxes. Once they strike gold at your hives they will return. Electric fencing can deter them. If you even suspect there are bears in your area you should consider putting up an electric fence before the bears learn your hives have honey. One of our club members had a bear attack which can be seen here.
Wax Moths
Wax Moths are not harmful to bees and a strong, healthy hive can defend itself from wax moths. However, once they infest a hive they do a number on comb whether the comb is in storage or in a weak hive. The moths burrow through the comb and enjoy consuming the old dark comb. If you do not spot the larvae, you can easily identify the invasion by the silky web they spin for protection as they eat their way through the drawn comb. The best way to prevent them altogether is to maintain a healthy hive and monitoring unused equipment frequently. You can treat the equipment but only when not in use with the chemical Paradichlorobenzene or use cold treatment placing equipment or frames in subzero temperatures x 24 hours to kill larvae and adults.
Wax moth damage
Small Hive Beetles (SHB)
Small Hive Beetles (SHB) are more predominate in the SE United States where the weather is warm and humid but have been found in NE Wisconsin spreading through infested packages and migratory operations. They are not likely to cause the colony to die, rather they slow the growth and size of a hive by weakening it. They are vectors for viruses: Sacbrood virus (SBV), American Foulbrood (AFB) spores and European Foulbrood (EFB). The larvae are similar to that of the wax moth, only smaller. SHB prefer to reproduce in loose sandy soil, but are not picky if the conditions are right. They are attracted to pollen sub patties where they breed. There are traps you can use to catch and kill the SHB and chemical treatments that are applied to the soil interfering with reproduction.
The Varroa Destructor Mite is considered to be the honey bees worst enemy. They are well known to contribute to colony death and collapse worldwide and were first discovered in the US in 1987. A review of the Brown County Beekeeper Association meeting minutes from that time period indicates that members were hearing about them, but did not appear to be overly concerned. Fast forward 36 years and mites impact each and every beekeeper and bee colony.
Mites themselves don’t kill the bees, rather, it is the many viruses they transmit to the bees that weaken them, including deformed wing virus and acute paralytic virus. In June 2022 Varroa reached Australia, one of the last known places in the world to be invaded by the Varroa Mite Destructor.
OK, Tell Me More!
A responsible beekeeper must perform regular, routine hive inspections, understand and anticipate the bees needs AND have a mite management strategy and plan. To start, let’s talk a bit about mite reproduction and lifecycle. Mites spread via movement of a carrier; a bee, a swarm of bees, a hive, even apiary equipment. They reproduce under capped brood cells and weaken bees by feeding on fat bodies of larvae and bees. Mites are also carriers of a number of viruses harmful to bees and when the mites pierce the bees exterior to feed, the virus’ are transmitted to the bee.
Can I Prevent Mites From Getting Into my Hive?
The short answer is no. There are a number things you can do to minimize the number of mites and to eliminate them when they do show up.
Maintain a regular monitoring schedule – start monthly mite testing using a sugar roll or alcohol wash in early spring and maintain until late fall. Whenever you receive new bees, test for mites. Don’t get complacent if you get a zero mite count. Do your testing on schedule the next month. Be sure to write down the date and mite load so you can compare month to month.
Utilize Integrated Pest Management (IPM) interventions – an overview of IPM is shown in the graphic. More in depth info is found here.
Integrated Pest Management (IPM) for managing Varroa Mites
Alcohol Wash – The alcohol wash is considered to be the most accurate method to monitor mite load. Advantages: accurate mite count each time and is quick and easy. Disadvantages: 300 bees are killed in the process of testing and alcohol is flammable – keep away from smoker.
Powdered Sugar Roll – The powdered sugar roll is preferred by many beekeepers because it does not kill any bees, intentionally. Advantages: Bees are kept alive and can be returned for clean-up back in the hive. Disadvantages: method is more time intensive than the alcohol wash and not as accurate. Excessive nectar on the frame which can leave the sample wet and high humidity both can cause the powdered sugar to clump, causing it not to knock the mites off the bees.
I’ve Got Mites, Now What?
Once you know how many mites you have it’s time to decide if action needs to be taken to reduce the number of mites. Divide your mite count by 3 which results in the number of mites per 100 bees (also known as the mite percentage). How many mites is too many and requires an intervention.
Most beekeepers follow this rule of thumb: If the mite load is 9 mites or 3 percent or greater – TREAT. Considering the destruction caused by the mites, many beekeepers are now treating at six mites or 2% threshold. Any early spring count of 3 mites or 1% should be treated due to the exponential growth rate of mites if they are not treated.
A very well laid out guide for the best treatment options based upon your situation and desires can be found at Honey Bee Health Coalition. Look for the Varroa Management Guide and Varroa Management Decision Tool. Both of these interactive tools are among the best available.
Supplies needed: Rubbing alcohol, mite jar, collection tub, ½ cup measure. Note: there are devices made specifically for this test. Here is one example from Let It Bee in Greenville WI.
Prepare testing jar with ½ cup rubbing alcohol
Select a frame with open and capped brood with many nurse bees – Make sure the QUEEN is NOT on the frame
Shake frame over tub to collect a ½ cup sample (about 300 bees) add to testing jar cap and shake 20 secs then 20 secs more
Once settled raise up test jar and count mites on the bottom of the jar
Advantages: accurate mite count each time, quick and easy Disadvantages: loss of approximately 300 bees, alcohol is flammable – keep away from smoker
Powdered Sugar Roll
Supplies needed: Powdered sugar, jar with screened lid (#8 hardware cloth), white collection tub or white disposable plate, ½ cup measure, spray bottle with water
Select a frame with open and capped brood with many nurse bees – Make sure the QUEEN is NOT on the frame
Shake frame over tub and collect a ½ cup sample (about 300 bees)
Add the 1/2 cup of bees to the testing jar and screw the cap on
Add powdered sugar – 2 Tablespoons
Roll the jar to cover bees in sugar and let sit in the shade for 2 FULL MINUTES – this step is VERY important
After 2 minutes, roll the jar again and then shake the jar upside down into the collection bin for 1 full minute. Mites will drop into the collection bin and the bees will stay in the jar.
Remove the jar lid and pour the bees back into the hive.
Spray the collection bin with water. The powdered sugar becomes translucent making it possible to count the mites.
Advantages: Bees are kept alive and can be returned for clean-up back in the hive. Disadvantages: This method is more time intensive than the alcohol wash and not as accurate due to variables including nectar on the frame and excessive humidity which has a tendency to clump the powdered sugar. When clumped the powered sugar does not remove as many mites.
The Wisconsin honey bee supplier list has been updated with 2024 information as of February 15, 2024. This guide is meant to help you when sourcing packages, nucs or queens and should be used as reference only. The club does not endorse any specific supplier – please contact the supplier for details, order forms, availability and any price changes.