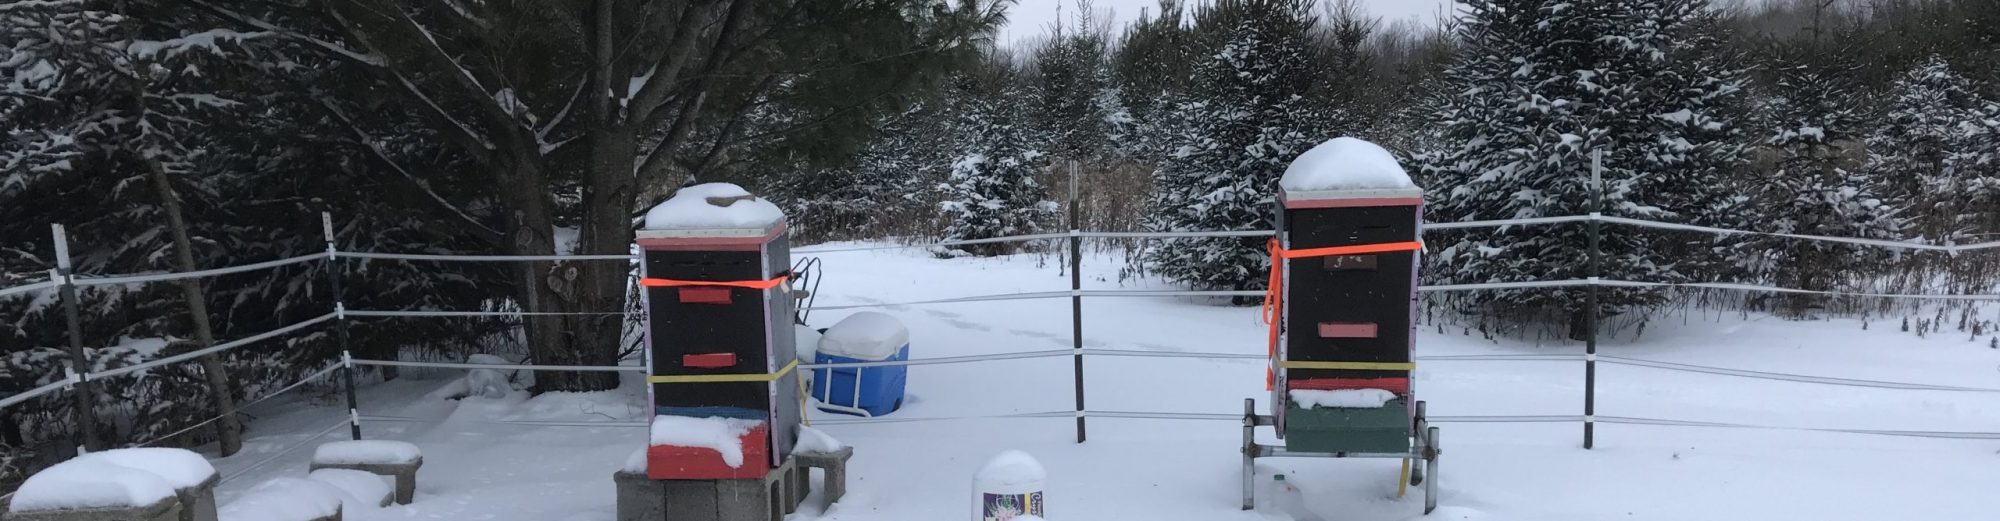
The Brown County Beekeepers Association is happy to present INTRODUCTION TO BEEKEEPING. Learn the essentials of beginning beekeeping!! The class will be presented in three sessions described below.
When: Prior to January 17th, 2026 — view three (or more) videos to prepare for the in person class. Between 2 and 3 hours of video to watch January 17th, 2026 — 8:00am to 2:30pm (in-person, location: Great Lakes Energy Education Center on the campus of NWTC, Rooms EE201/202). Booyah lunch will be provided. and May 16th 2026 8:00am to 10:00am (at the hive, location: Green Bay Botanical Gardens). Click for a map to the location. How Much: $50 for an individual, $40 for additional family members
By now most people have heard of No Mow May as way to help pollinators. However, the idea has not gained widespread acceptance due to most folks obsession with keeping a manicured, cut short, grassy lawn. The Brown County Beekeepers would like to encourage everyone to think “Slow-Mow May” instead. What does this mean you ask? Well, if you normally mow every few days – take an additional 2 or 3 days between mowing and put your mower on a higher setting. This allows more dandelions to grow (early food for honey bees) and keeps more ground cover in place for the ground hibernating pollinators that have not yet emerged.
Pollinators like native bees, moths, butterflies, beetles and wasps are hibernating in our gardens and landscapes. There are also other critters and insects (i.e. fireflies and amphibians) using our landscape as habitat. Loss of habitat is one of the primary reasons for declining insect and pollinator populations.
And don’t just stop helping pollinators in May. Here are steps that can be taken year round.
Not too EARLY – to help hibernating pollinators and other insects and amphibians, wait until there is a steady temperature of 50 degrees to begin spring mowing and clean up. They are still hibernating in your garden.
Leave the leaves! If you can’t bring yourself to turn your entire yard into pollinator friendly plantings – think about converting just a portion of your yard. Maybe that spot that is mainly out of sight? Every little bit helps! Remember leaves provide critical habitat to over wintering pollinators (bees, moths, butterflies, caterpillars) and other creatures. They are also a natural mulch, supplying vital nutrients back to the soil. If you feel you need to rake, be gentle and rake leaves into garden beds where they will help to hold the moisture and reduce weeds.
Don’t cut stems and stalks – Some native bees hibernate in the pithy stems and stalks. When tidying up your garden, consider leaving stems and stalks as is, OR if cutting back, leave about 15 inches standing. This will allow new plant growth to grow up and over old stems. Previous years stems serve as valuable nesting sites for native bees. By maintaining these stems, you’re providing essential habitat for these important pollinators. Lastly, don’t burn or toss those cut stems!! While some native bees may have emerged already, other species emerge later in the spring/summer. Instead, loosely pile or gently rake material and set aside so they can emerge at a later date.
“If all mankind were to disappear, the world would regenerate back to the rich state of equilibrium that existed ten thousand years ago. If insects were to vanish, the environment would collapse into chaos.”
— E. O. Wilson An American Biologist and Naturalist, considered one of the greatest natural scientists of our time.
Avoid Using Pesticides – Bees are our most important pollinators, and they are insects. So are butterflies like the monarch. Using insecticides will kill these insects. Herbicides will kill important native plants such as milkweed that pollinators rely upon as a food source and a place to raise young. Make the commitment to avoid using chemicals and to maintain your garden in a natural, organic way. Although we encourage people to go herbicides, fungicides, insecticides and rodenticides free, if there are any questions about what you are using in their yards and gardens, you can look it up here: https://ipm.ucanr.edu/bee-precaution-pesticide-ratings/
Plant for Pollinators – Plant in clusters to create a “target’ for pollinators to find and plant for continuous bloom throughout the growing season from spring to fall. For assistance in planning your garden for Northeast Wisconsin visit the Wisconsin Conservation organization site. A useful guide to native Wisconsin plants are are helpful for pollinators can be found here.
Provide Water – Bees are thirsty. In fact, on hot days, bees cease all foraging except for water. If you notice bees visiting your garden often, put out a water source for them, like a decorative fountain, a bird feeder, or a birdbath. But make sure there’s a landing spot for them — they don’t like to get their feet wet, so they need pebbles, twigs, or trim to land on while they sip.
Go Organic – Beyond your garden, go organic in as many ways possible – such as buyingorganic products and food. Supporting sustainable, pollinator-friendly farms keeps them in business – and the bees and pollinators safe! Don’t forget to hit up your local Farmer’s Market too. Even if they are not “certified” organic, many small local farms are much more cautious about pesticide use. Furthermore, buying organic goods lessens the demand for conventional (toxic) products. This is better for everyone and everything, including your personal health.
A bee nuc (nuc is short for nucleus) is a small colony made up of bees taken from a larger colony. It’s normally sold in a box with five frames standing side by side. A couple of those frames usually already have honey stores.
A bee package is typically sold in wooden frame boxes with screens on two sides. They are sold by the pound, and it takes approximately 3,500 bees to make a pound. A three-pound package, therefore, contains about 10,000 bees.
Inside a bee package is a can full of a sugar syrup mixture. The bees feed from this during transport. Bee packages can be mailed to you via USPS. Each package also contains its own small wooden box covered on one side by a screen. This tiny box holds the queen and a few worker bees to tend her.
The Differences
Bees in a package can come from different hives. The bees in a nuc are generally from the same colony. Bee packages also tend to be less expensive than nucs. However, with a package, you’ll need to build the colony by transitioning the bees into your existing hives. This requires a greater education in beekeeping. For that reason, using nucs is typically less stressful than using packages.
Which one should you get?
Beginners would do well to begin with a 5-frame nuc rather than a 3-pound package of bees. If you are a beginner, starting with an already established colony is going to increase your success rate immediately. Beekeeping has a huge learning curve. Starting with a 3-pound package introduces a whole new set of elements that you have to learn before you start keeping bees.
Not only are you new at this but now your package bees are starting from scratch too. They have no foundation, no comb, no brood, no nectar and no pollen. And although you have a mated queen in a cage, she’s technically not laying because she has nowhere to lay yet. A nuc already comes withall of those elements.
So you’ve got your honey bee package, now what?
A few things before talking about installing your bees.
Make sure your bee yard is all set up and your equipment is ready to go.
Make sure you have prepared 1:1 sugar water.
Pick up your bees with your bee suit and gloves handy. Most likely thousands of bees will be flying around.
Install your bees on the same day as pickup, if at all possible. However, a couple day delay will not harm your bees.
Secure your bees before transport. Recommend placing a mesh bag around the bees and use duct tape to ensure the cover can’t come off during transport. In the event you had an accident you don’t want bees to be flying around in a vehicle to make matters worse.
Installing a Package into the Hive
Place an entrance reducer on hive opening. Remove 5-6 Frames from hive box where you will be installing the new bees. Remove the cover over the hole in the top of the cage and place it to the side. Spray the package with sugar water.
One downward shake to cause the bees to fall to the bottom of the cage. Remove the syrup can from the package and queen cage, cover opening with the cover you just removed.
Check the queen cage to make sure your queen is alive and well. Remove the cork, cap, and/or metal cover from the end of the queen cage. Do not remove the candy. You will find white candy separating the queen from the hole. Poke a hole in the candy (use a paperclip or small nail). Make sure you don’t harm the queen. Place the queen in a safe location out of the sun. We often put her in our jacket or shirt pocket if it is cool.
Place the queen cage between two middle frames at the top of the frames. We like to use a paperclip to hold the queen cage in place so she doesn’t fall to the bottom of the box. (The Candy side should up). The bees must become acquainted with the queen before she is released (bees will eat through the candy in order to release her once she is accepted). This can take several days. Remove cover from package. Shake bees into the gap in brood box.
Replace the previously removed frames – Gently. The bees will move out of the way. Place the mostly empty container in front of hive and the remaining bees will work themselves into the hive. Feed the bees with a 1 x 1 sugar syrup. Put on the inside cover and place the telescoping cover on top with extra weights if you use them. Remember to come back in 2-3 days to make sure the queen is out of the cage. If she is still in the cage, release her.
If it is very cold when you get your bees you can use the No Shake Method as discussed in the video.
The use of smoke causes to things to happen, both of which are beneficial to the beekeeper. First, the smoke masks the alarm scent bees emit to warm other bees about dangers to the hive (like a human taking the roof off their house). Without the warning bees will be less defensive. The second thing smoke does is make the bees believe there is a fire nearby and that the hive may be in danger. The response in the bees to go gorge on honey, as they may have to fly away and create a new home somewhere else. So a number of the bees are busy eating honey and less defensive.
What can be used a smoker fuel?
There are many types of fuel that can be used in your smoker. Here in Northeast Wisconsin there is an abundance of fallen pine needles which work very well. Other materials include pine cones, newspaper, cardboard, pelleted fuel, cotton waste, etc.. You can use pretty much anything that is combustible. Just don’t use anything that might be toxic-to you or your bees.
How does one light a smoker?
First, gather your materials. The smoker, an ignition source, flammable materials, hive tool, and fire extinguisher or water. Start by lighting something easy, like balled up newspaper or a used egg carton. Put it in the smoker and give it a few puffs. When it is burning well add more materials over it (pine needles, pellets, etc) and give it a few more puffs to get the material lite. Use you hive tool to gently press the materials down in the smoker. This packs the materials for a longer burn and can sterilize the hive tool if hot enough. Add more materials, pack, add more materials until full-all the while puffing away to ensure it stays lit. You are looking for a cool, white smoke and, for sure, no flames or embers flying out the nozzle which could injure your bees or start a fire.
So now, how does one use the smoker?
Start by giving a few puffs at the entrance to the hive. Remove the top cover and give a couple of puffs through the hole in the inner cover. Crack the inner cover and give a few more puffs. That should be sufficient to initially open the hive. Smoke the bees again if they are getting aggressive or the sound changes. There are times when the bees are just all wound up and no amount of smoke will calm them down. In that case, it is best to put the hive back together and come back another day
A cursory overview of using a smoker from Mann Lake.