Here is what to expect in and around the hive in October.
Continue reading
What to Expect in October Northeast WI
Leave a reply
Here is what to expect in and around the hive in October.
Continue reading
Here is what to expect in and around the hive in June.
Continue reading
Here is what to expect in and around the hive in December.
Continue reading
Here is what to expect in and around the hive in November.
Continue reading

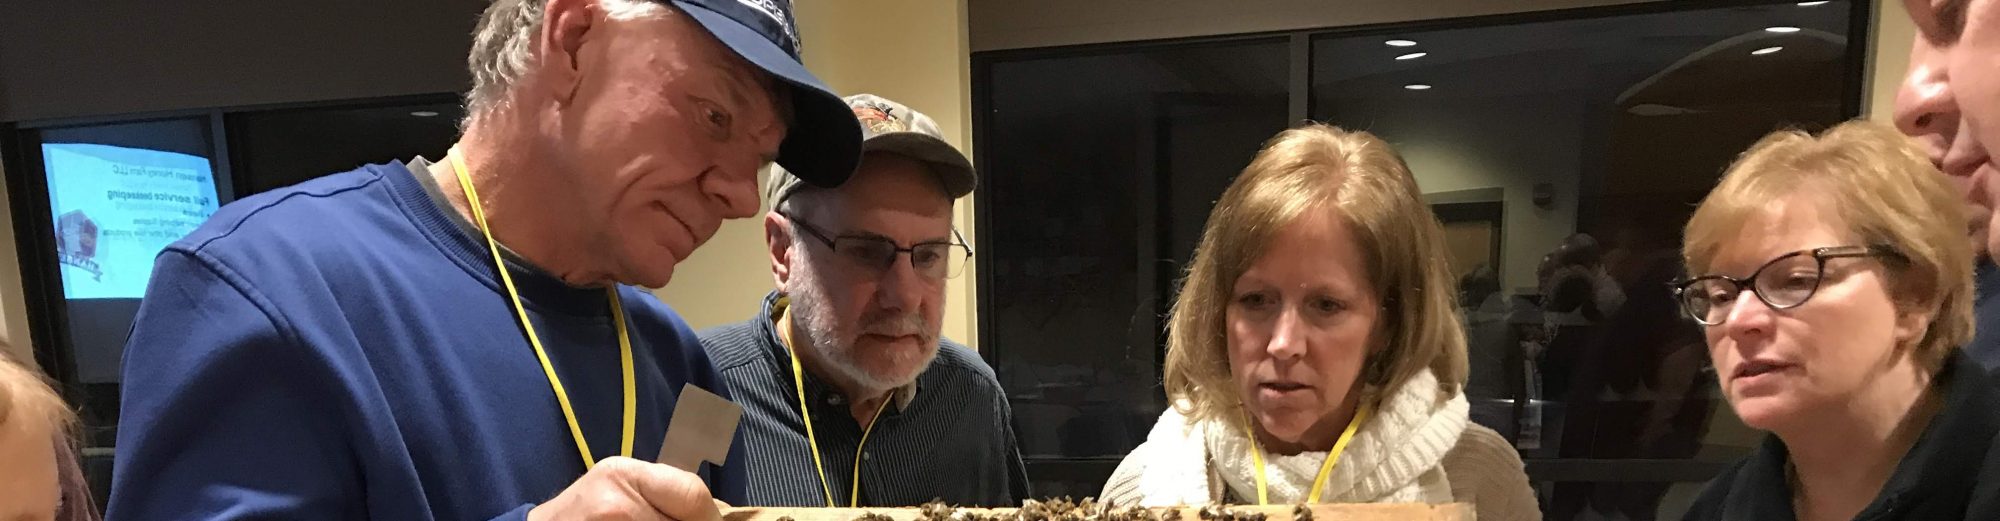
The Brown County Beekeepers Association is happy to present INTRODUCTION TO BEEKEEPING. Learn the essentials of beginning beekeeping!! The class will be presented in three sessions described below.
When:
Prior to January 17th, 2026 — view three (or more) videos to prepare for the in person class. Between 2 and 3 hours of video to watch
January 17th, 2026 — 8:00am to 2:30pm (in-person, location: Great Lakes Energy Education Center on the campus of NWTC, Rooms EE201/202). Booyah lunch will be provided.
and May 16th 2026 8:00am to 10:00am (at the hive, location: Green Bay Botanical Gardens). Click for a map to the location.
How Much: $50 for an individual, $40 for additional family members
What: Attendees will gain an understanding of:
Continue reading
Here is what to expect in and around the hive in September.
Continue reading
Here is what to expect in and around the hive in August.
Continue reading
Quite a bit of equipment is available for beekeepers some essential and some nice to have. Figuring out what you need can be confusing. Here we’ll go over the essentials.
Continue reading
Native plants and pollinators have co-evolved for over millions of years; they rely on each other for survival. Remove one, and the other faces extinction. They are intricately intertwined and fragile.
Native plants offer crucial food and habitat for bees, butterflies, moths, birds and other insects and pollinators, whose populations are drastically declining due to habitat loss, pesticide use, and climate change.
By planting native species in your garden, you create vital habitat and food sources for pollinators that need native species for survival, helping to reverse their decline and restore balance. Additionally, native plants support our ENTIRE local food webs, providing sustenance for ALL wildlife.
BCBA encourages the planting of native plant species to support all pollinators.
BLUE THUMB – although based out of Minnesota, plants would be the same. This site allows you to add “ecoregion” – we suggest for the Green Bay area, use “Northern Lakes and Forest Region”. You also add type of plant, size, and condition (sun or shade) and even pick plant COLOR. The site then spits out a list of plants that fit your specific criteria. A great place to start while looking for plants that work for you and your garden.
LADY BIRD JOHNSON – PLANT FINDER Narrow your search by entering in the criteria you’re looking. This site gives lot of information on the plant as well as ecological value and value to specific insects/pollinators.
WISCONSIN DNR – If you’re just starting out, and want something simple and easy to read – check out WDNR: “NATIVE PLANTS FOR BEGINNERS GUIDE” and other great resources for supporting pollinators here.
Stone Silo Prairie Gardens – 2325 Oak Ridge Cir, DePere, WI 54115 – We’re very lucky to have a native plant resource right in our back yard:
Prairie Nursery – located in WI
Prairie Moon Nursery – Located in MN
By planting native trees, flowers, bushes and grasses, we make a difference right in our own backyard. It doesn’t matter how big or how small your garden -every little bit matters. By planting native, we create healthy, vibrant habitats and food webs that contributes to a healthier environment.

By now most people have heard of No Mow May as way to help pollinators. However, the idea has not gained widespread acceptance due to most folks obsession with keeping a manicured, cut short, grassy lawn. The Brown County Beekeepers would like to encourage everyone to think “Slow-Mow May” instead. What does this mean you ask? Well, if you normally mow every few days – take an additional 2 or 3 days between mowing and put your mower on a higher setting. This allows more dandelions to grow (early food for honey bees) and keeps more ground cover in place for the ground hibernating pollinators that have not yet emerged.
Pollinators like native bees, moths, butterflies, beetles and wasps are hibernating in our gardens and landscapes. There are also other critters and insects (i.e. fireflies and amphibians) using our landscape as habitat. Loss of habitat is one of the primary reasons for declining insect and pollinator populations.
And don’t just stop helping pollinators in May. Here are steps that can be taken year round.
Not too EARLY – to help hibernating pollinators and other insects and amphibians, wait
until there is a steady temperature of 50 degrees to begin spring mowing and clean up. They are still hibernating in your garden.
Leave the leaves! If you can’t bring yourself to turn your entire yard into pollinator friendly plantings – think about converting just a portion of your yard. Maybe that spot that is mainly out of sight? Every little bit helps! Remember leaves provide critical habitat to over wintering pollinators (bees, moths, butterflies, caterpillars) and other creatures. They are also a natural mulch, supplying vital nutrients back to the soil. If you feel you need to rake, be gentle and rake leaves into garden beds where they will help to hold the moisture and reduce weeds.
Don’t cut stems and stalks – Some native bees hibernate in the pithy stems and stalks. When tidying up your garden, consider leaving stems and stalks as is, OR if cutting back, leave about 15 inches standing. This will allow new plant growth to grow up and over old stems. Previous years stems serve as valuable nesting sites for native bees. By maintaining these stems, you’re providing essential habitat for these important pollinators. Lastly, don’t burn or toss those cut stems!! While some native bees may have emerged already, other species emerge later in the spring/summer. Instead, loosely pile or gently rake material and set aside so they can emerge at a later date.
“If all mankind were to disappear, the world would regenerate back to the rich state of equilibrium that existed ten thousand years ago. If insects were to vanish, the environment would collapse into chaos.”
— E. O. Wilson An American Biologist and Naturalist, considered one of the greatest natural scientists of our time.
Avoid Using Pesticides – Bees are our most important pollinators, and they are insects. So are butterflies like the monarch. Using insecticides will kill these insects. Herbicides will kill important native plants such as milkweed that pollinators rely upon as a food source and a place to raise young. Make the commitment to avoid using chemicals and to maintain your garden in a natural, organic way. Although we encourage people to go herbicides, fungicides, insecticides and rodenticides free, if there are any questions about what you are using in their yards and gardens, you can look it up here: https://ipm.ucanr.edu/bee-precaution-pesticide-ratings/
Plant for Pollinators – Plant in clusters to create a “target’ for pollinators to find and plant for continuous bloom throughout the growing season from spring to fall. For assistance in planning your garden for Northeast Wisconsin visit the Wisconsin Conservation organization site. A useful guide to native Wisconsin plants are are helpful for pollinators can be found here.
Provide Water – Bees are thirsty. In fact, on hot days, bees cease all foraging except for water. If you notice bees visiting your garden often, put out a water source for them, like a decorative fountain, a bird feeder, or a birdbath. But make sure there’s a landing spot for them — they don’t like to get their feet wet, so they need pebbles, twigs, or trim to land on while they sip.
Go Organic – Beyond your garden, go organic in as many ways possible – such as buying organic products and food. Supporting sustainable, pollinator-friendly farms keeps them in business – and the bees and pollinators safe! Don’t forget to hit up your local Farmer’s Market too. Even if they are not “certified” organic, many small local farms are much more cautious about pesticide use. Furthermore, buying organic goods lessens the demand for conventional (toxic) products. This is better for everyone and everything, including your personal health.